I have been asked a handful of times about the steps to install Kali Linux on a Raspberry Pi. My buddy Aamir Lakhani and I went through the installation process a million times with different models to develop our best practices for the installation process. This post will cover a very short summary of how to install Kali Linux on a model B+ Raspberry Pi. The full details as well as many other Raspberry Pi penetration testing use cases can be found in our book HERE.
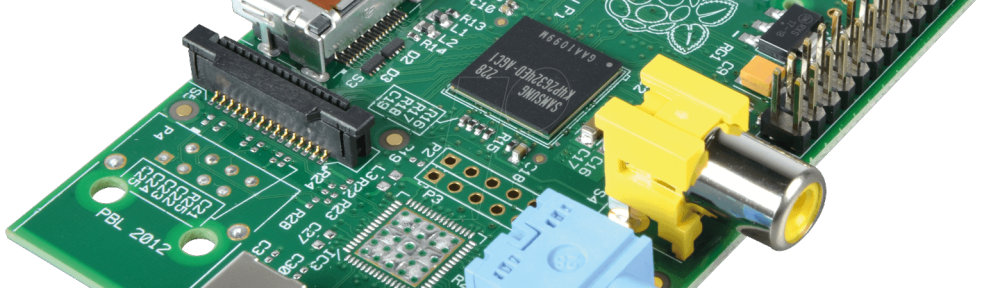
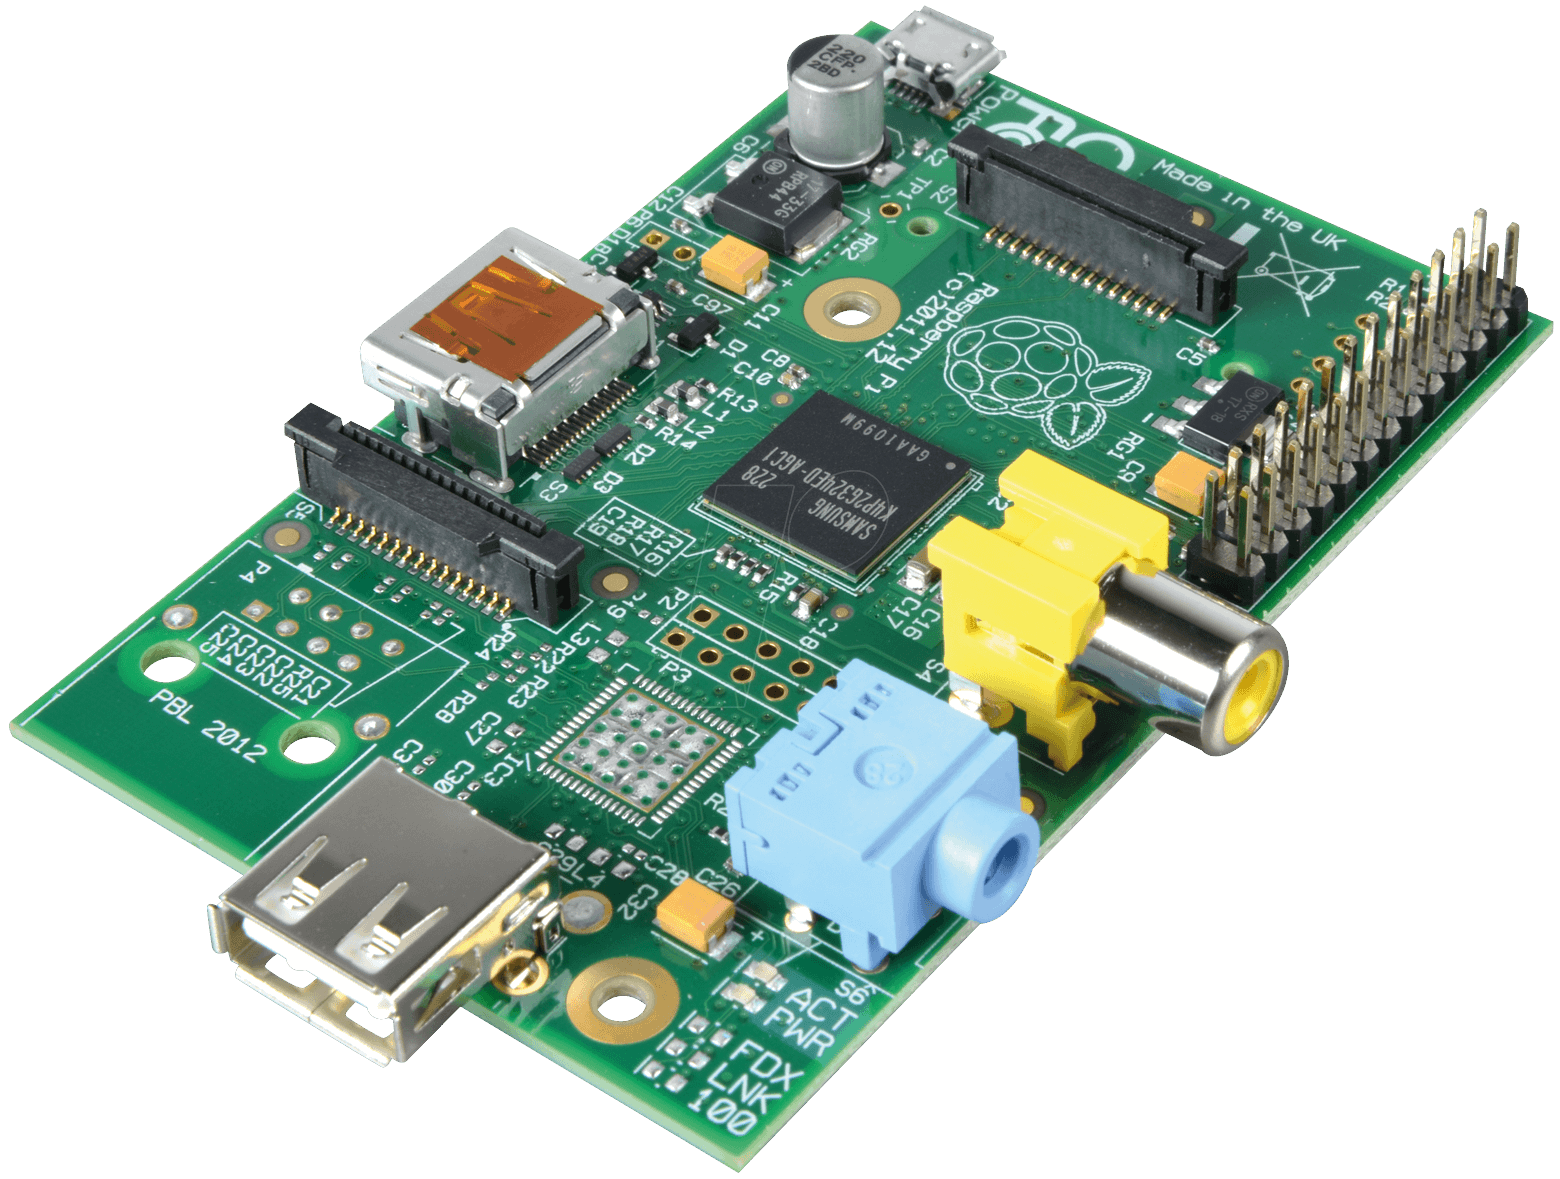
For those unfamiliar with the Raspberry Pi, it basically is a credit card size computer that can be used for just about anything. Its main value points are the very low cost (anywhere from $30-$60 dollars for the core system), small portable form factor and flexibility regarding software options and modifications. For penetration testing, these are some good use cases.
- Saving travel cost by shipping Raspberry Pis configured for penetration testing and remotely using them
- Hiding a Raspberry Pi on a target’s network
- Sneaking in a mobile penetrating testing toolkit via your pocket or backpack
- Concealing a Raspberry Pi in something such as a clock or other commonly found item
- Creating a low cost lab to test
When installing software on a Rasberry Pi, you must first have a method to configure the microSD card that holds the operating system. Some computers have microSD slots however many others will require either an adapter or external reader. For example, my MAC has a SD slot so I use the following adapter to image my Raspberry Pi’s microSD card.
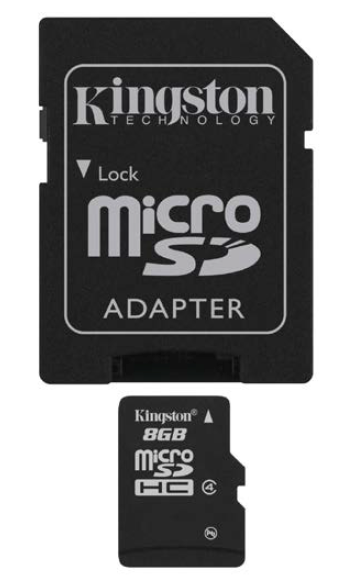
microSD to SD card adapter
Once you bring up the microSD card, the first step is to format it. NOTE: You should back up your existing software such as the NOOBS software prior to do this. One good free tool for this is SD card formatter found at https://www.sdcard.org/home/. MAC users can use the Disk Utility tool for formatting. We commend using the MS-DO (FAT) format.
Once you format the microSD, you are ready to install Kali Linux. Go to http://www. offensive-security.com/kali-linux-vmware-arm-image-download/ and download the latest Kali Linux ARM image. You need to write that image to the microSD. For windows users, you can use Win32 Disk Imager found at HERE. You will need to uncompress the image using a tool such as 7-Zip prior to installing the image file.
For MAC users, you can use the standard terminal window. The first step is determine where your microSD is located. The diskutil list command will list which disk represents your microSD. Next you need to unmount your SD card by issuing diskutil unmountDisk /dev/disk1 assuming our microSD is on disk1 (change the disk number depending on your scenario). Format the SD card by using the command sudo newfs_msdos -F 16 / dev/disk1 command (again make sure you use the right disk number). You will have to enter the administrator password. Uncompress your image using a tool such as Keka and go to the folder where the image is located. Use the command sudo dd if=~/Desktop/kali-1.0.9-rpi.img of=/dev/disk1 assuming disk1 is your drive to install the image. You can use the command Ctrl + T to check the status of the install.
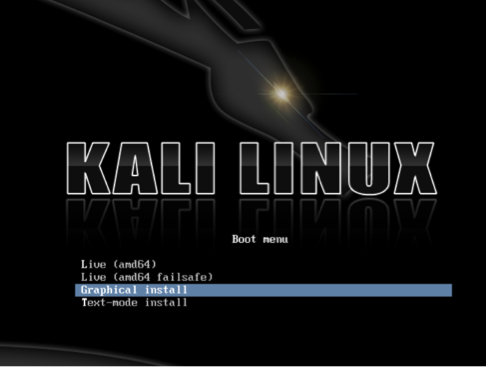
Once the installation process completes, you can plug your microSD card into your Raspberry Pi and power it on. You now have Kali Linux on your Raspberry Pi. Type startx to launch the GUI.
NOTE: Make sure the first thing you do upon connecting to the internet within the X windows environment is launching the apt-get update and apt-get upgrade commands to avoid common issues.
Troubleshooting Tips:
Here is a short summary of common problems we ran into when installing Kali Linux on a Raspberry Pi. For more details on troubleshooting, check out http://elinux.org/ R-Pi_Troubleshooting. or our book.
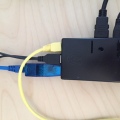
Power Issues: Make sure you are using a proper power source. We found for some portable USB based sources don’t generate enough juice for the Pi even though it lights up properly.
MicroSD card reading problems: This could be caused by many things. Some MAC users blame it on a dirty reader and have to blow into the SD reader hole to clean it. Worst case, purchase a external USB microSD reader. They cost under $10 dollars on Amazon.
Permission Denied: Some MAC users will get this error. Make sure you don’t have the protection mode enabled on your SD card (little slider). Also make sure you use the sudo command before entering a command.
Blank Screen after startx: You will probably see a blank screen during the first time you start Kali Linux since it needs time to fire up. If this takes a really long time, you may have too many things starting up or something went wrong with the install. Best practice is keeping your use of the Raspberry Pi as thin as possible.
Blank Screen with working mouse after Startx: We ran into this a handful of times and man it was a pain. You get things working and update however upon reboot, you get this problem. This is caused by some files that don’t update properly while updating from the GUI. To fix this, reimage Kali Linux and run the apt-get update and apt-get upgrade commands within the X windows environment. Then sync and reboot your system.
Kali Linux programs not found: The Kali Linux ARM image is limited compared to the full blown version. You can issue the apt-get update and apt-get upgrade command or install the missing application directly.