A few weeks ago Aamir Lakhani put up a blog post on how to install and configure Snort on Security Onion with Snorby. Since the release of the article He has received numerous requests on how to disable some of the rules. Here is a post on tuning by Aamir. The original post can be found HERE.
If you followed the article, The Ultimate Guide to Installing Security Onion with Snort and Snorby, you are no doubt seeing quite a few events on your Snorby dashboard.
Before you begin, make sure you have root privileges. Type in sudo –i to get root privileges.
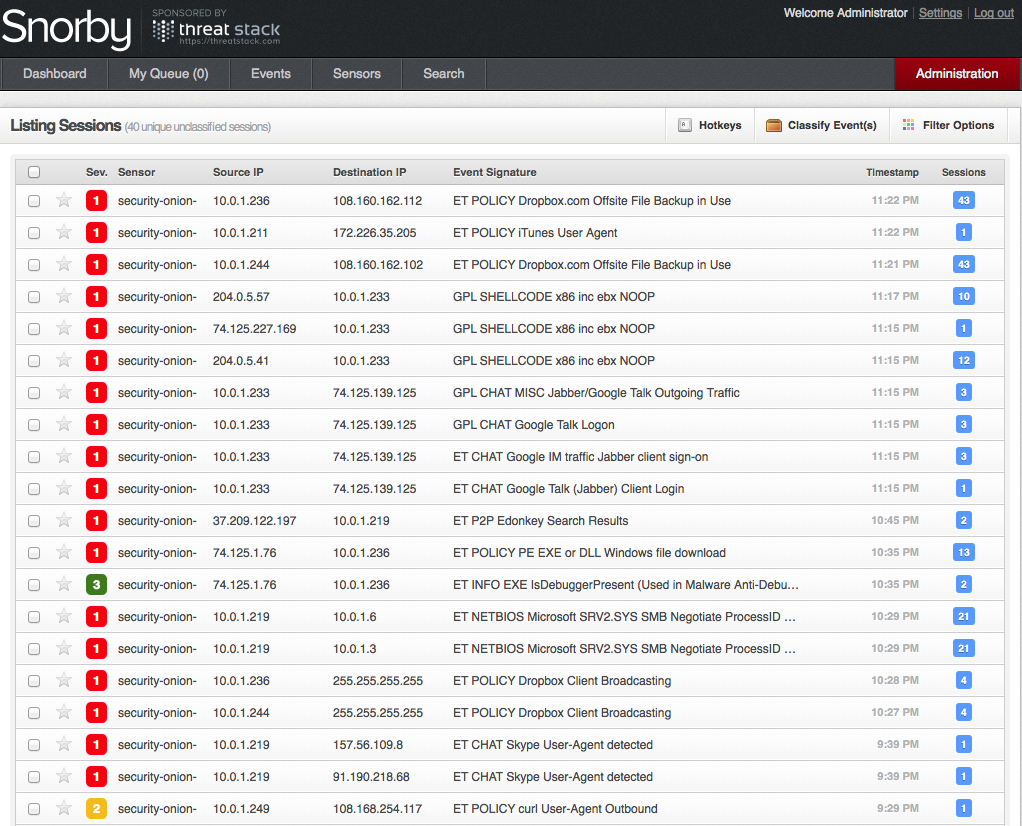
Let’s say we want to disable a specific rule, for example the first rule in the screen shot above references DropBox. This is acceptable in my environment, and I really do not want to see these events in the future.
Click on the rule to open it up. We want to take note of the “Generator ID” and “Signature ID”.
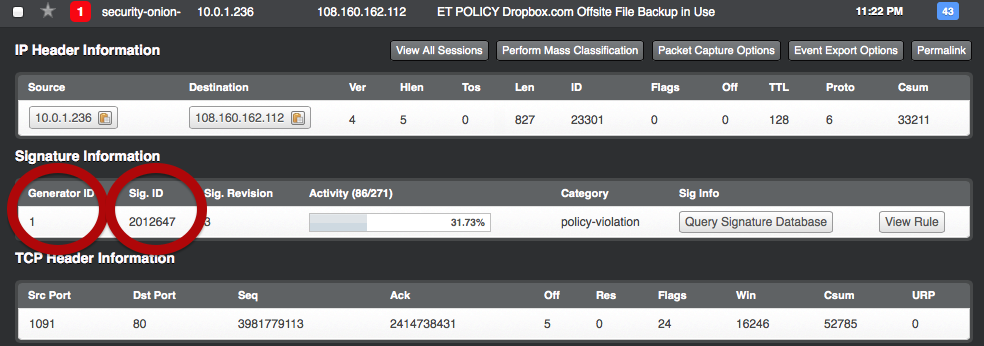
In this case the generator ID is: 1 and the Signature ID is: 2012647.
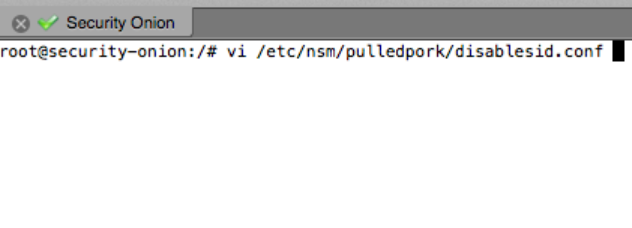
Next, we want to edit the disablesid.conf file. If you didn’t modify the Security Onion install it will be at the following location: /etc/nsm/pulledpork
Near the top of the file you will find the section to modify individual rules. You can enter the generator ID and signature ID separated by a colon. Use a comma behind each rule to disable multiple rules.
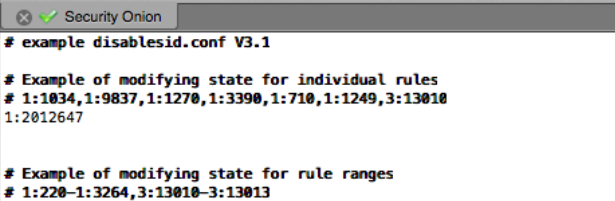
The section directly below the individual rules, will allow you to disable rule ranges.
Lastly, you can also disable multiple rules using the keywords. By using keywords to disable specific rules, you do not need to hunt for multiple rule signatures or ranges. Any rule that matches words in your description will be disabled.
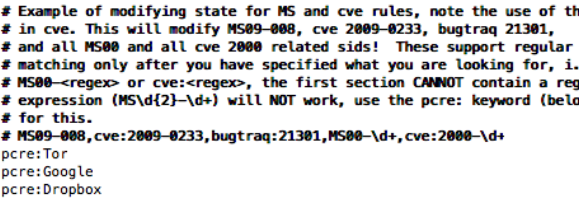
In the example above, I do not want to see any rules related to Tor, Google, or Dropbox traffic. I can use the keyword pcre followed by a colon the description of the rule I want to disable.
Hopefully these few tricks will help you fine-tune your Snort IDS in Security Onion. If you haven’t read our article on how to install Security Onion, check it out over HERE.
You will need to update the rules before they go into effect.
Open up a terminal window and enure you have root privileges. We used the sudo -i command to change over to root.
The command /usr/bin/rule-update will update the rules.